In this tutorial I´m going to create an Android TV App where the main part consist of a WebView.
Step 1: Create a new Android TV App with Android Studio
Be sure you have all necessary tools installed.
Go to Android Studio File->New->New Project and select Blank Activity.
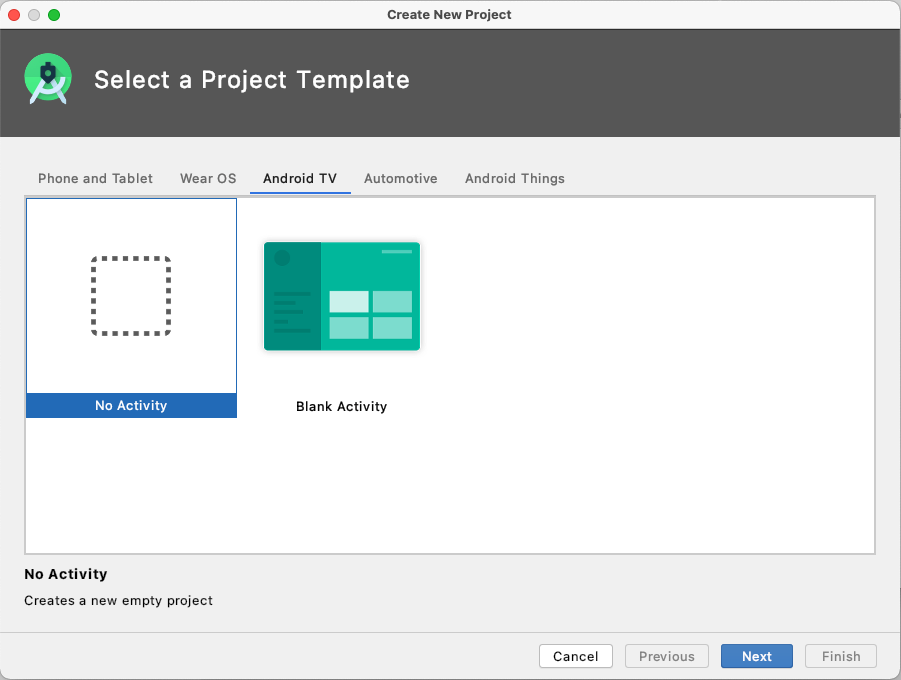
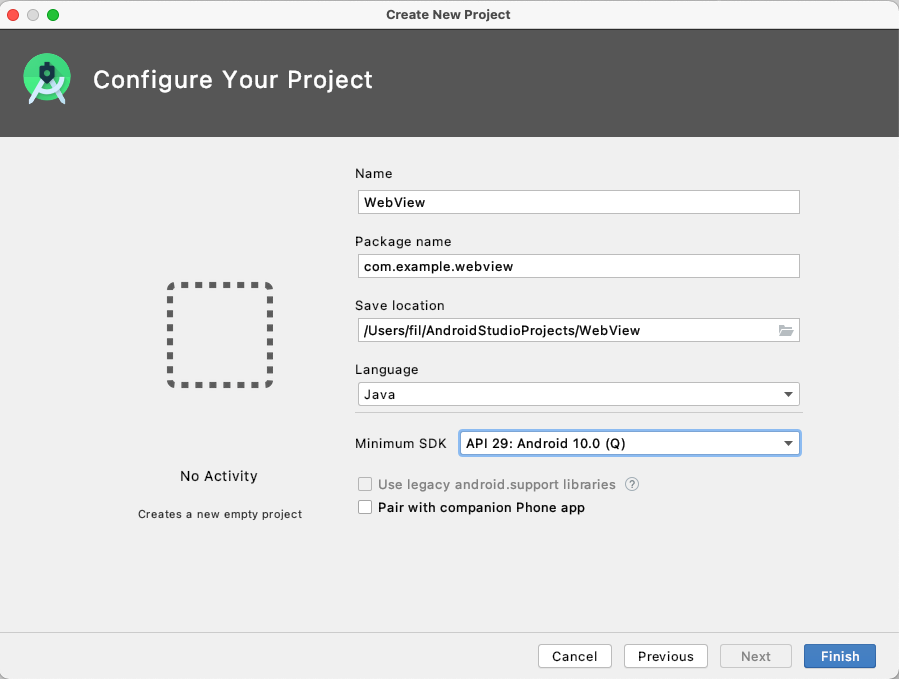
Enter the name of the App, select the language and the API level. You can choose here your preferred version or language. I will use Java.
Step 2: Setup Emulator
Before we are creating the MainActivity let´s setup the Emulator.
Click on the AVD Manger icon upper left in the IDE.

Click create virtual device.

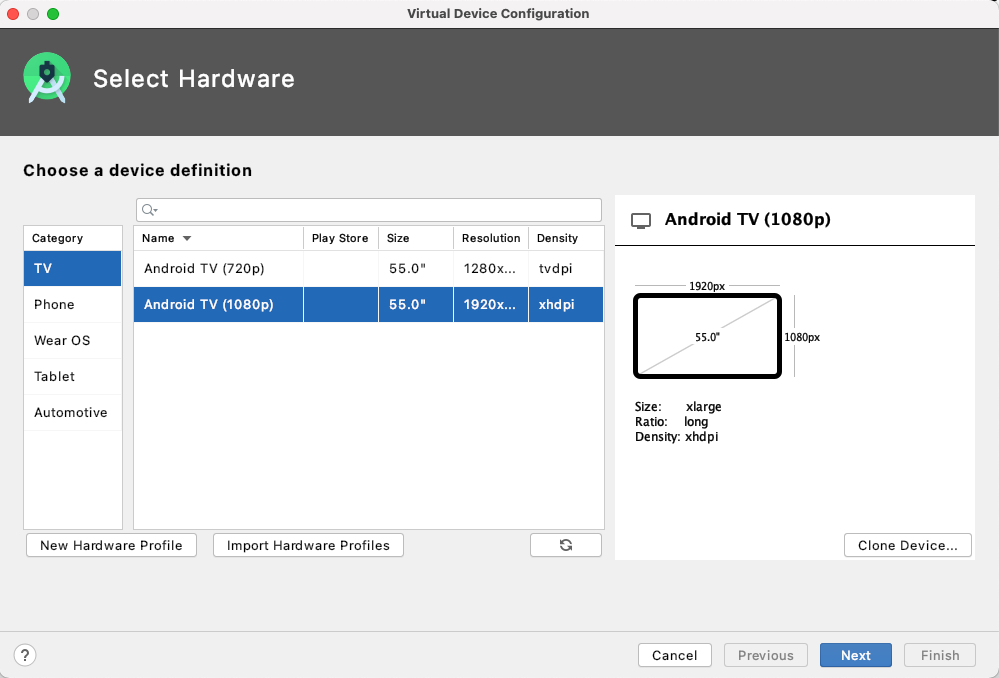
Select TV and choose your preferred resolution. Next…
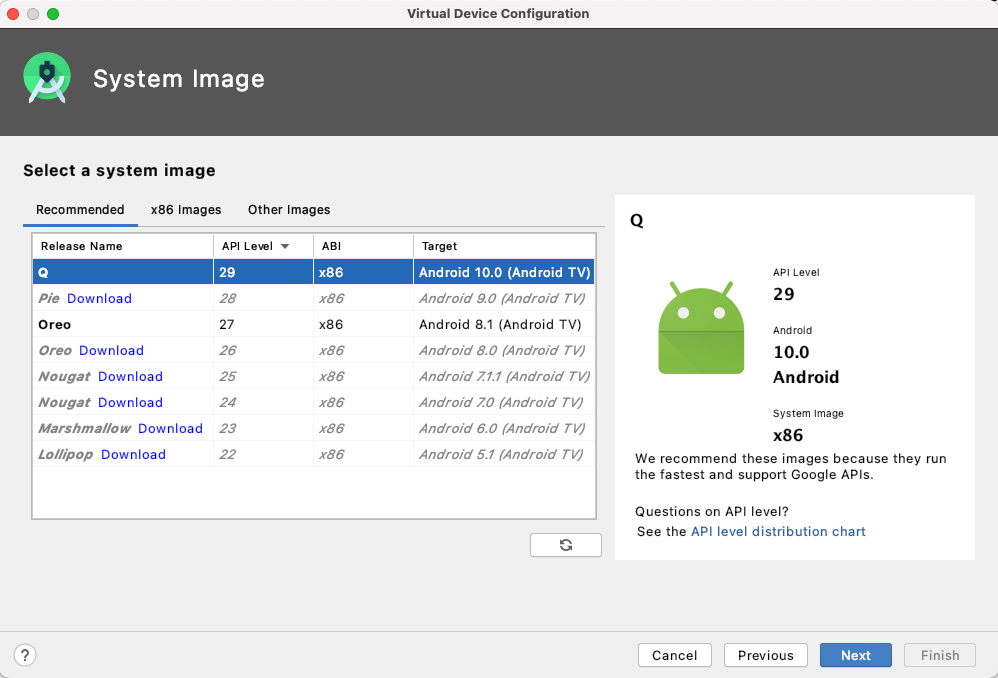
Choose a API Level. Next..
Now you can name the device however you like and make some advanced settings. I will leave it as it is 😊
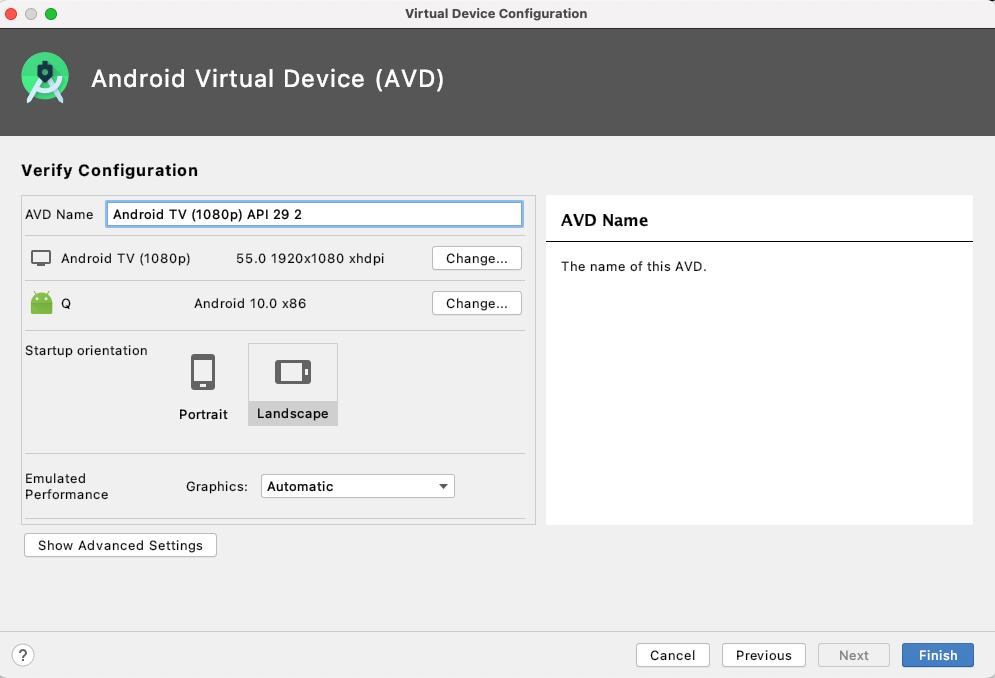
Now you should be able to see the device in your list and run it.
Here we go 🚀
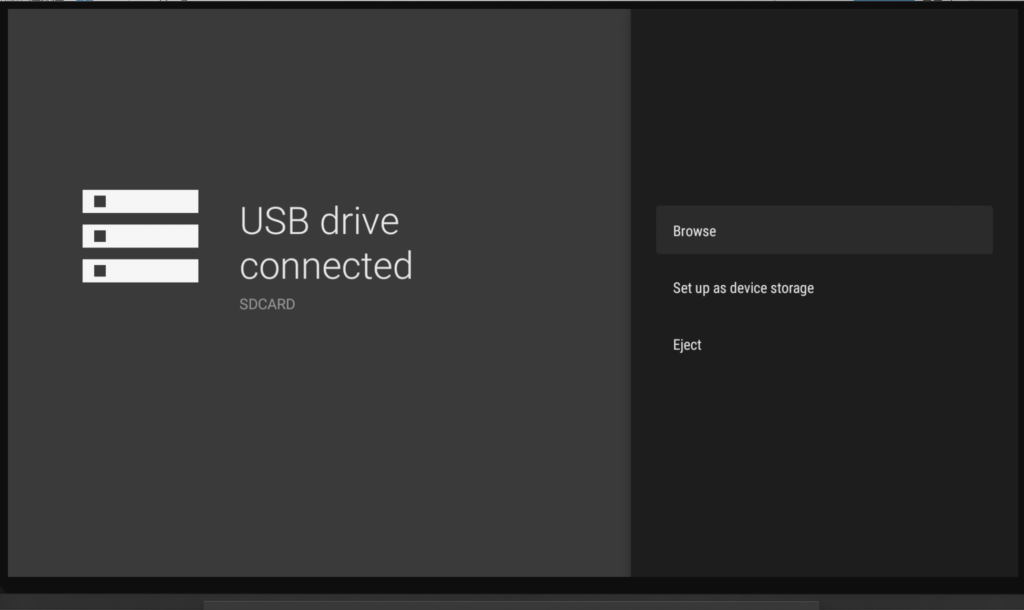
Step 3: Create Main Activity & Setup Project
Go to your package and create a new Java Class with the name MainActivity. I mean also here you can name it however you like 😊
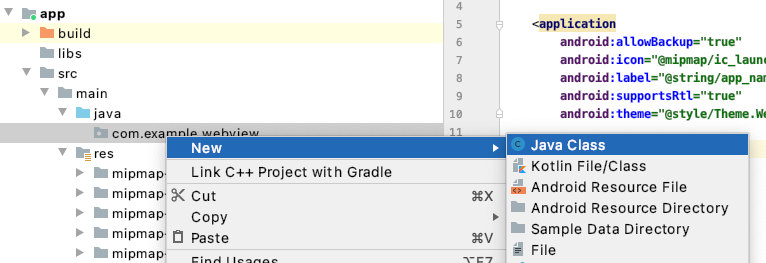
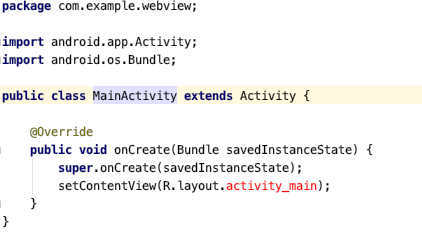
As you can see I already added some stuff which are necessary for the MainActivity but we also need a layout for our app otherwise we can not start it.
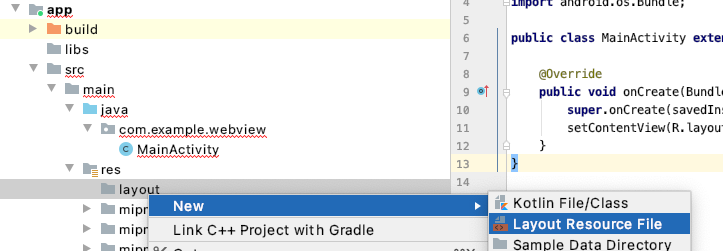
Create in the resource folder a new folder layout and add a new Layout Resource File.
This is how my activity_main.xml looks like. I also added a blue background color so that I don’t have to look onto a black screen 🖥️
<?xml version="1.0" encoding="utf-8"?>
<RelativeLayout xmlns:android="http://schemas.android.com/apk/res/android"
 android:layout_width="match_parent"
 android:layout_height="match_parent"
 android:background="#2980B9">

</RelativeLayout>
And here the MainActivity:
package com.example.webview;

import android.app.Activity;
import android.os.Bundle;

public class MainActivity extends Activity {

 @Override
 public void onCreate(Bundle savedInstanceState) {
  super.onCreate(savedInstanceState);
  setContentView(R.layout.activity_main);
 }
}
Now maybe you think that you can run the app,..sorry no 🚫 For this we need to update our AndroidManifest.xml to start our Activity.
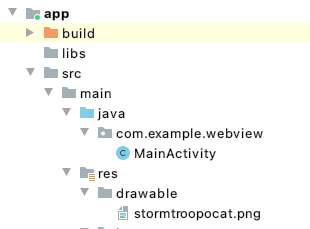
We need to define our start activity. I also add an icon for the app launcher . For this I created a drawable folder and put a Octocat into it..Lets see how this will look like..im afraid of the resolution 🥺
AndroidMainfest.xml looks now like this:
<?xml version="1.0" encoding="utf-8"?>
<manifest xmlns:android="http://schemas.android.com/apk/res/android"
 xmlns:tools="http://schemas.android.com/tools"
 package="com.example.webview"
 tools:ignore="MissingLeanbackLauncher">

 <uses-feature
  android:name="android.software.leanback"
  android:required="false" />
 <uses-feature
  android:name="android.hardware.touchscreen"
  android:required="false" />

 <application
  android:allowBackup="true"
  android:icon="@drawable/stormtroopocat"
  android:label="@string/app_name"
  android:supportsRtl="true"
  android:theme="@style/Theme.WebView" >

  <activity
   android:name=".MainActivity"
   android:banner="@drawable/stormtroopocat"
   android:icon="@drawable/stormtroopocat"
   android:label="@string/app_name"
   android:logo="@drawable/stormtroopocat"
   android:screenOrientation="landscape"
   tools:ignore="WrongManifestParent">
 <intent-filter>
 <action android:name="android.intent.action.MAIN" />

 <category android:name="android.intent.category.LAUNCHER" />
 </intent-filter>

 </activity>
</application>

</manifest>
Here my drawable folder:
Now its the time to run it 👍
Be sure your app and device you want to run is selected.


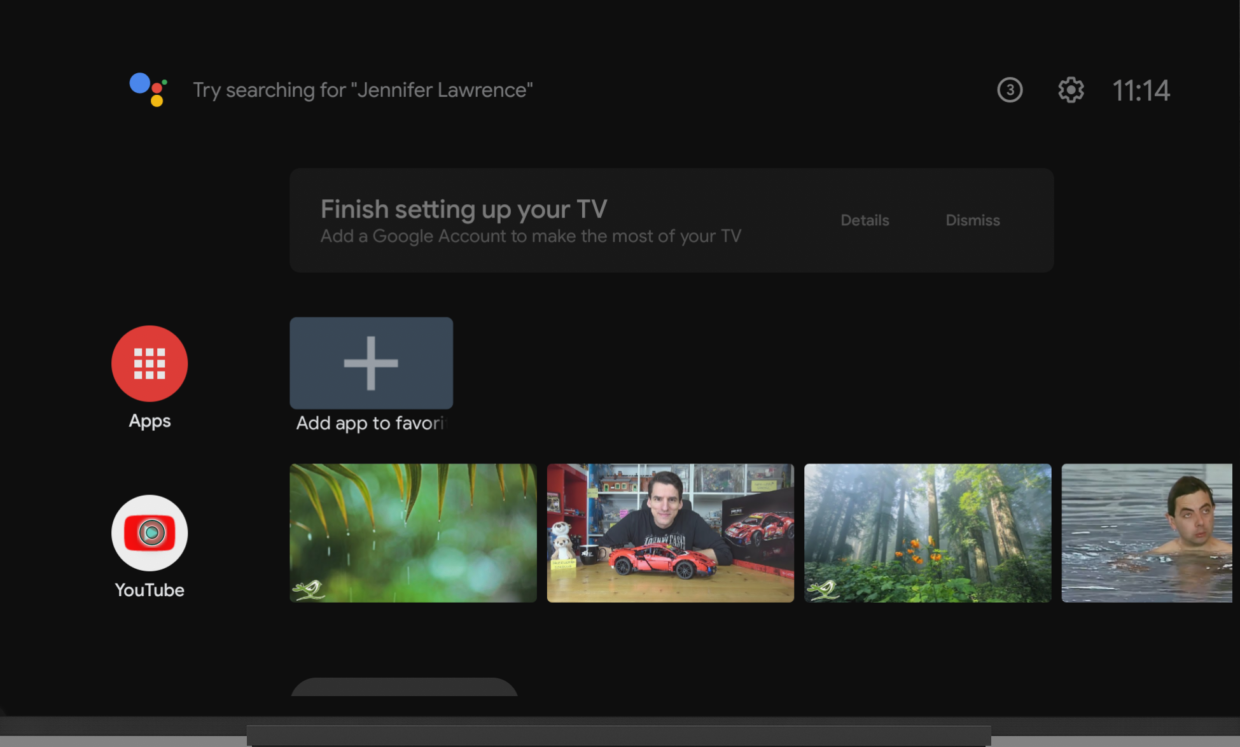
And here our nice app icon..I like it 😊

Step 4: Add WebView
Now let´s add a webview and load some stuff into it.
For this we have to update our layout and add a WebView component into it.
<?xml version="1.0" encoding="utf-8"?>
<RelativeLayout xmlns:android="http://schemas.android.com/apk/res/android"
 android:layout_width="match_parent"
 android:layout_height="match_parent"
 android:background="#2980B9">

 <WebView
  android:id="@+id/main_webview"
  android:layout_width="match_parent"
  android:layout_height="match_parent" />

</RelativeLayout>
Next we have to update our MainActivity. Easy peasy ✌️We just have to add the onResume function, initialize the WebView and load a url.
@Override
protected void onResume() {
 super.onResume();
 WebView webView = findViewById(R.id.main_webview);
 webView.loadUrl("https://www.google.de/");
}
Before we can run it we need to add internet permissions to our Manifest otherwise the Emulator is not allowed to access the internet.
<uses-permission android:name="android.permission.INTERNET" />
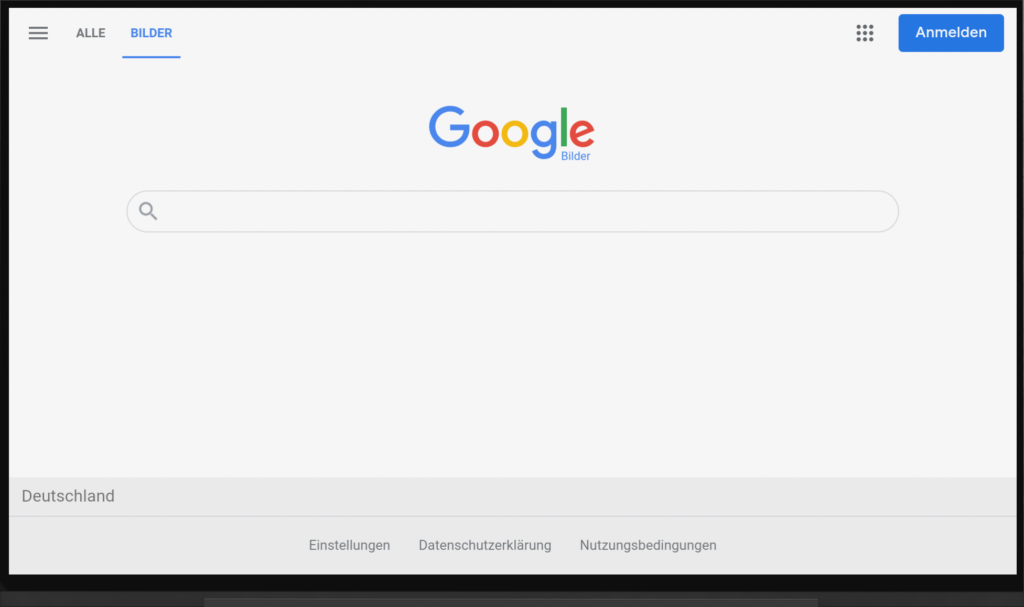
And here we go:
Here the full code snippets of the MainActivity and AndroidManifest:
package com.example.webview;

import android.app.Activity;
import android.os.Bundle;
import android.webkit.WebView;

public class MainActivity extends Activity {

 @Override
 public void onCreate(Bundle savedInstanceState) {
  super.onCreate(savedInstanceState);
  setContentView(R.layout.activity_main);
 }

 @Override
 protected void onResume() {
  super.onResume();
  WebView webView = findViewById(R.id.main_webview);
  webView.loadUrl("https://www.google.de/");
 }
}
<?xml version="1.0" encoding="utf-8"?>
<manifest xmlns:android="http://schemas.android.com/apk/res/android"
 xmlns:tools="http://schemas.android.com/tools"
 package="com.example.webview"
 tools:ignore="MissingLeanbackLauncher">

 <uses-permission android:name="android.permission.INTERNET" />

 <uses-feature
  android:name="android.software.leanback"
  android:required="false" />
 <uses-feature
  android:name="android.hardware.touchscreen"
  android:required="false" />

 <application
  android:allowBackup="true"
  android:icon="@drawable/stormtroopocat"
  android:label="@string/app_name"
  android:supportsRtl="true"
  android:theme="@style/Theme.WebView">

  <activity
   android:name=".MainActivity"
   android:banner="@drawable/stormtroopocat"
   android:icon="@drawable/stormtroopocat"
   android:label="@string/app_name"
   android:logo="@drawable/stormtroopocat"
   android:screenOrientation="landscape"
   tools:ignore="WrongManifestParent">
  <intent-filter>
  <action android:name="android.intent.action.MAIN" />

  <category android:name="android.intent.category.LAUNCHER" />
  </intent-filter>

  </activity>
 </application>

</manifest>
You can check out the code here .
👋
Tolga Yilmaz 25. Februar 2021
great success.
Very good tutorial!
graliontorile 5. Juni 2022
Saved as a favorite, I really like your blog!
Mahinda Yodapassa 15. Februar 2023
nice simple and easy to understand tutorial, works well
Nangalikan Nikinibatana 15. Februar 2023
Easy Tutorial, simple & on point, clear step by step explanation